
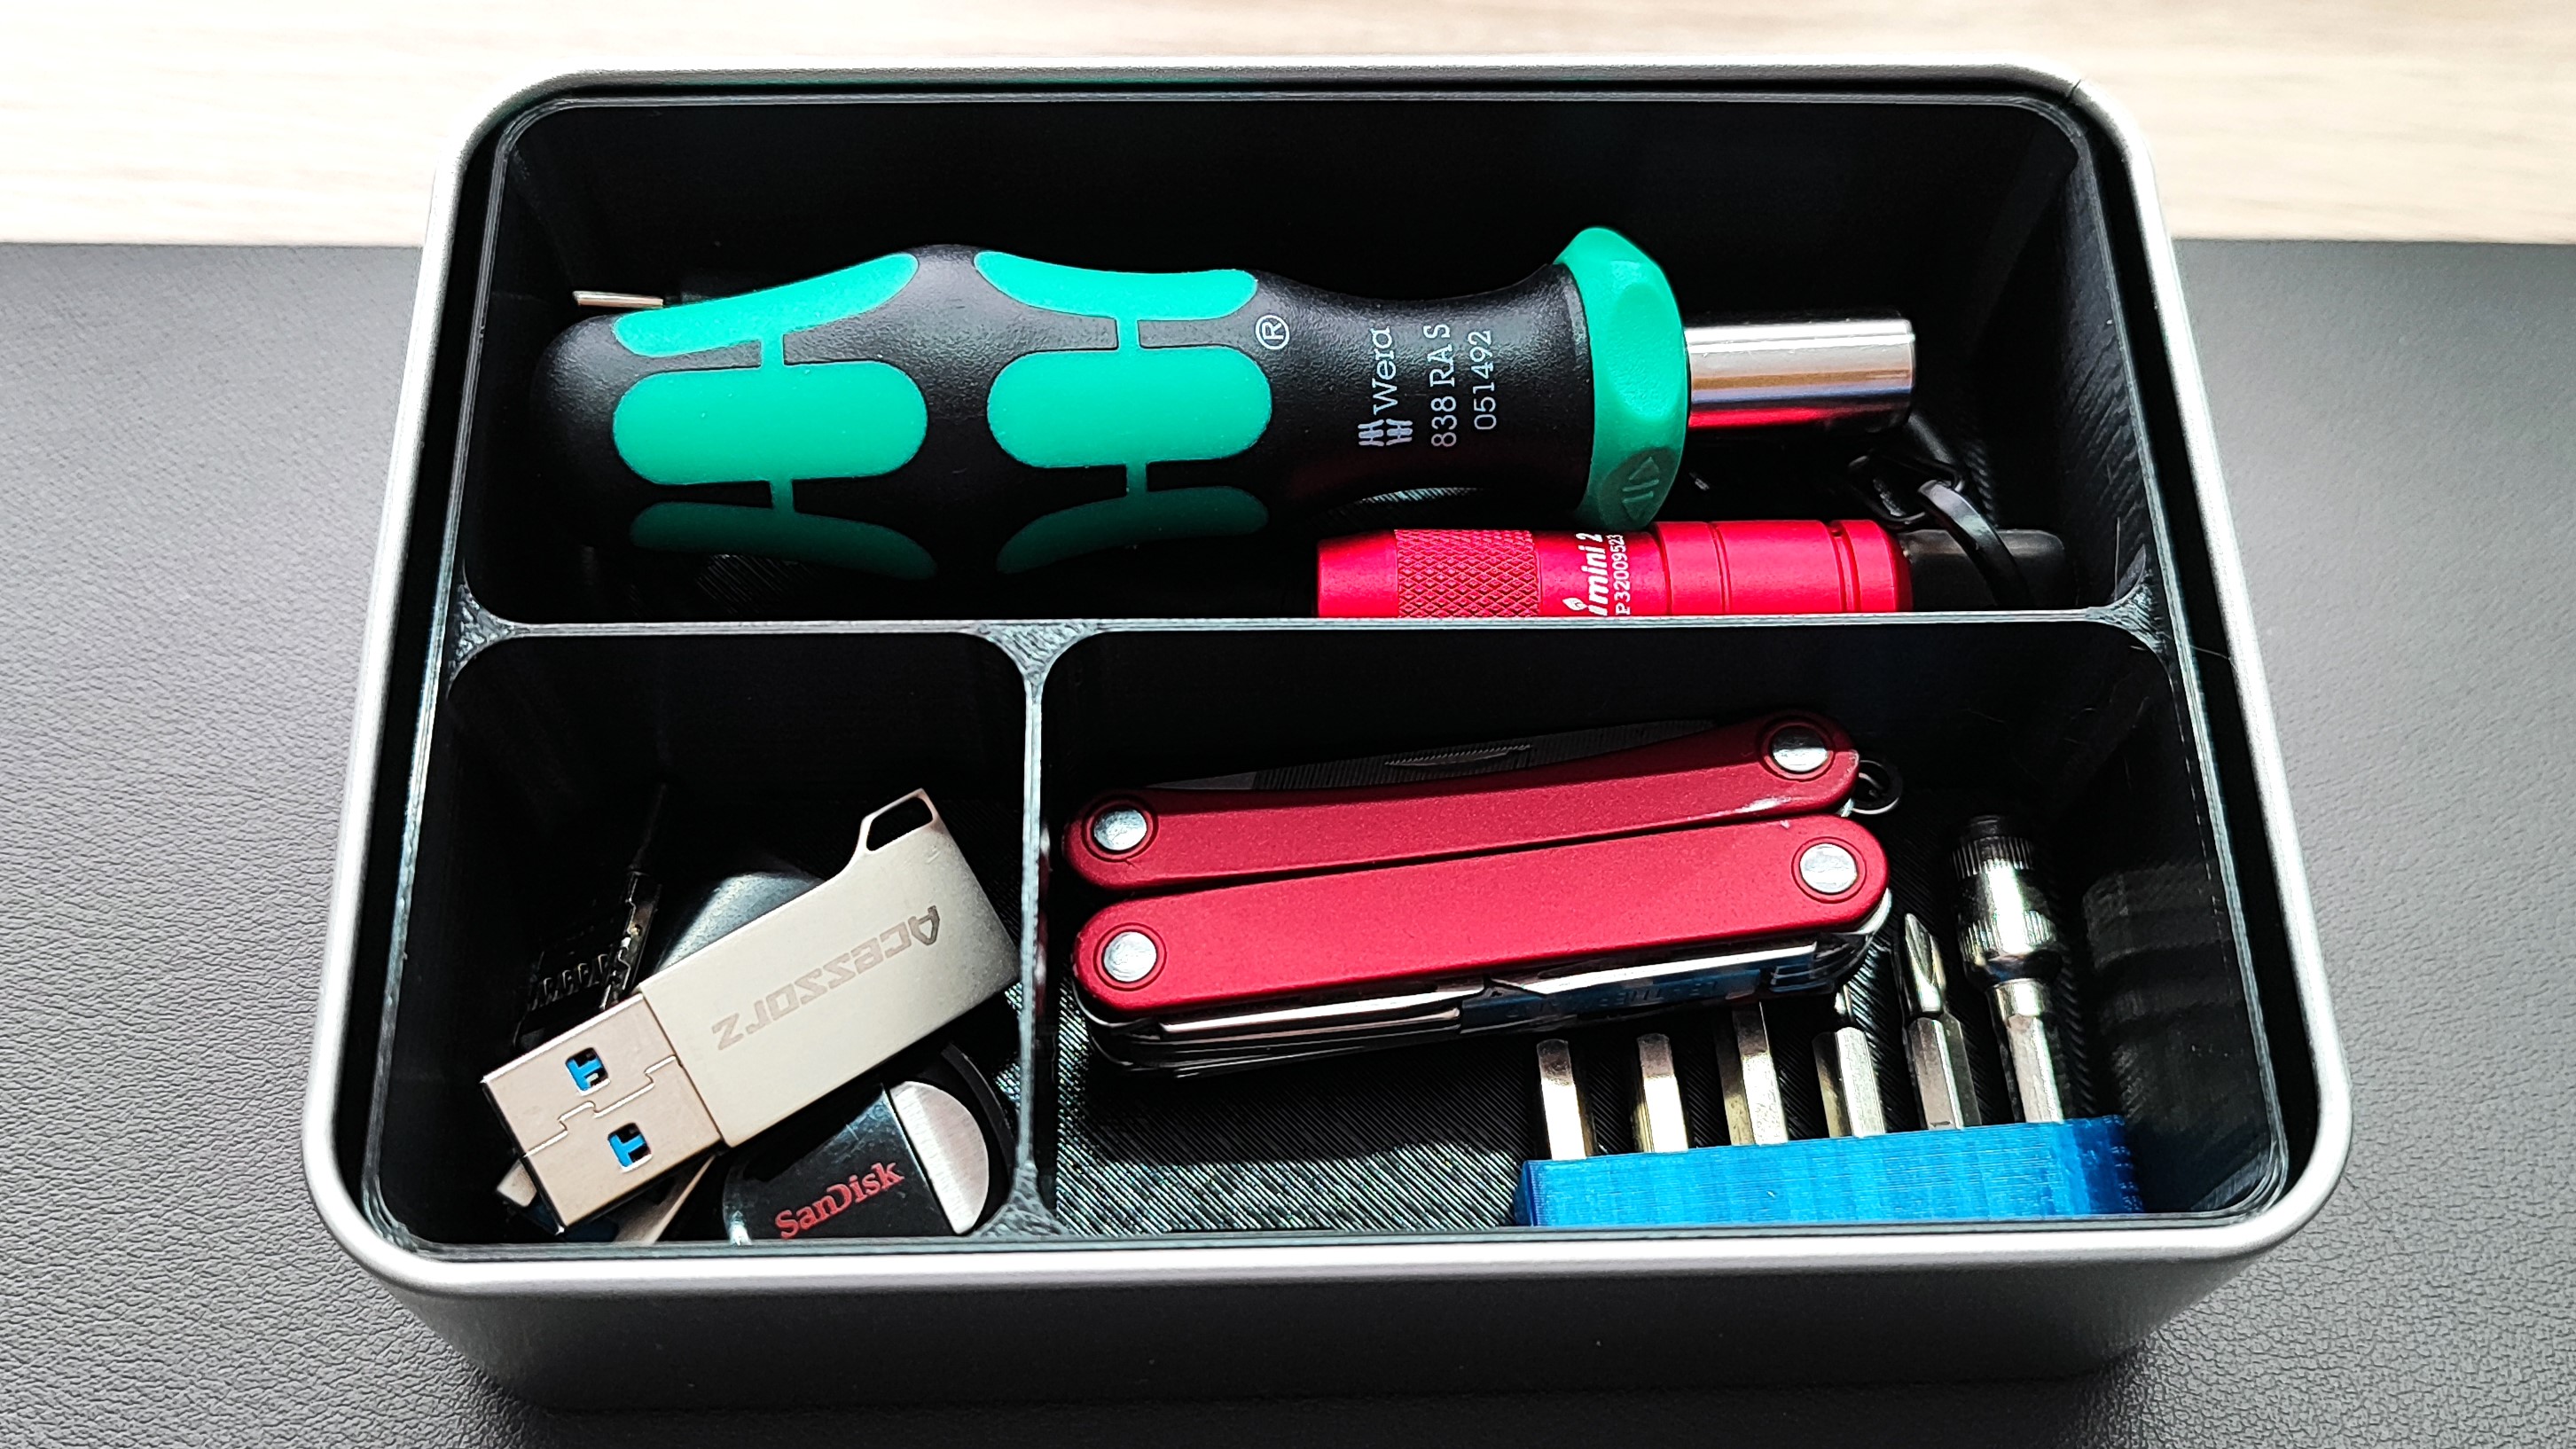
If the organizing consultant Marie Kondo were assimilated by Star Trek’s Borg, you would get me. I am by no means a fully neat and tidy person (I vacuum, I clear tables, wash the dishes, etc), but I like order in the chaos that is life. I like to know where things are. I like First Order Retrievability, a concept made popular by Mythbusters host Adam Savage, where one should maximize efficiency by ensuring frequently used tools/items are immediately available. I know that I can reach into a drawer and pull out the screwdriver that I need to fix something, the microSD cards for a Raspberry Pi, or one of the myriad cables that I refuse to get rid of.
My love of organization led me to Bento3D, a website to create custom, 3D printable trays and boxes. On the site, I can design a tray to exacting specifications, and should I need or want it, I will also design a box with a hinge to store that tray. My goal for this how-to is to show you how I determined the dimensions and created a simple tray, which will form the basis of a PC First Aid Kit that I have put together. That kit guide is another how-to, enabling us to concentrate on creating the organizing tray.
I’m using one of the best budget 3D printers to print my tray, the Elegoo Centauri Carbon. I am also using PETG filament, specifically Elegoo’s Rapid PETG, which isn’t on our list of best 3D filaments for 3D printing, but it really should be!
You may like
-
![]() I 3D printed an entire server case with the Elegoo Centauri Carbon – this is what happened and how much it cost
I 3D printed an entire server case with the Elegoo Centauri Carbon – this is what happened and how much it cost -
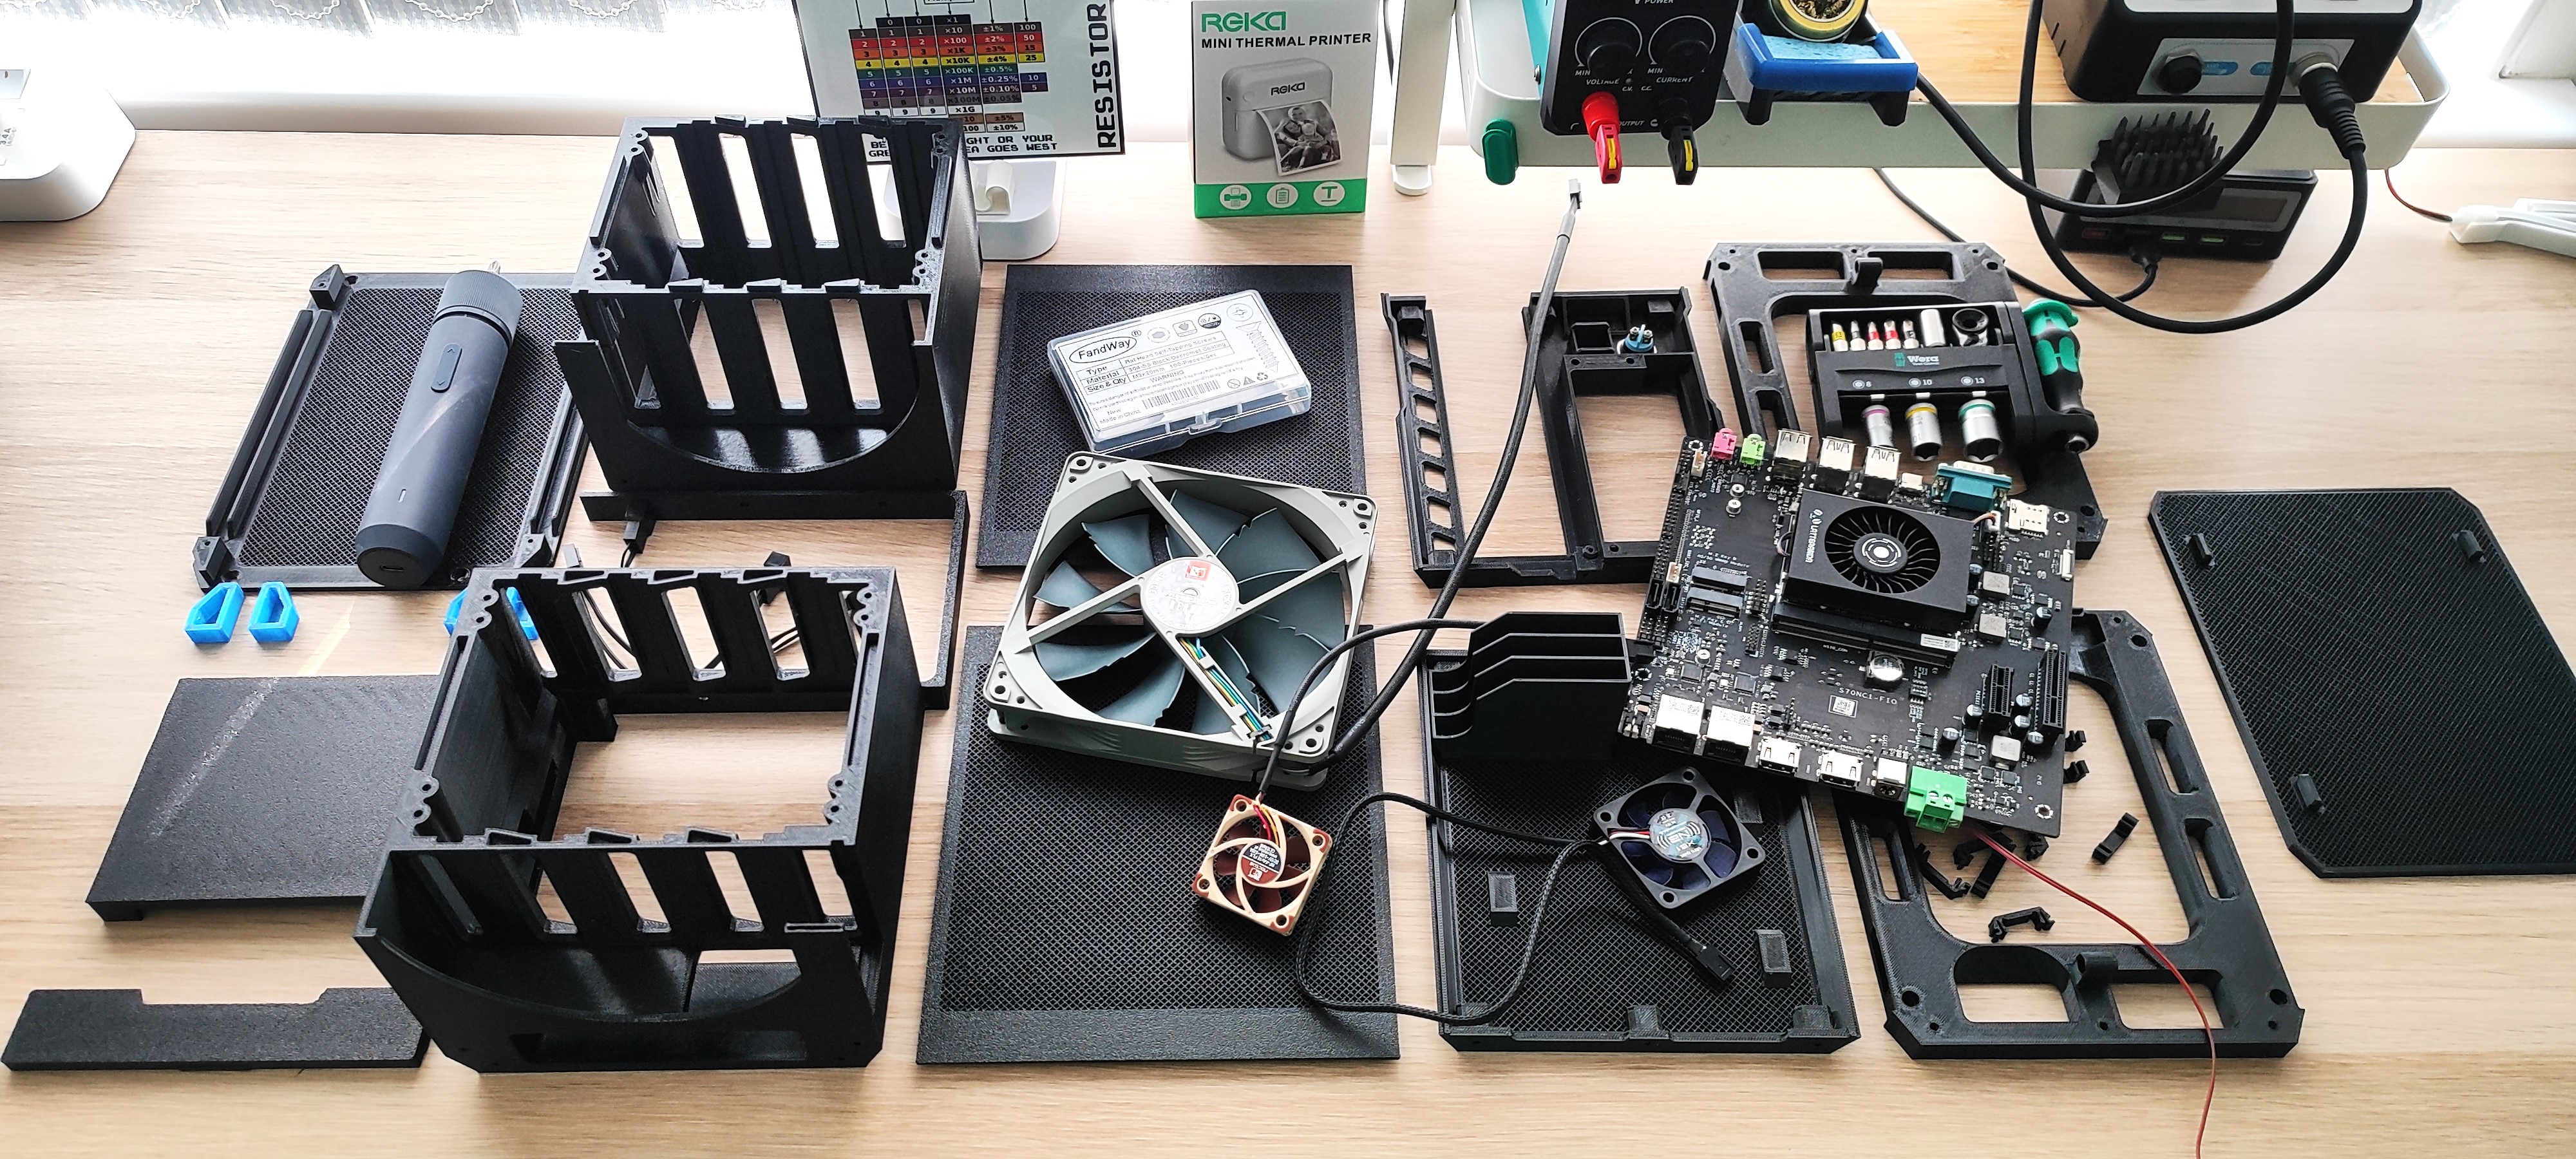 I’m building a media server out of leftover PC parts and a 3D printed case
 -
![]() AMD, Nvidia, and Intel haven’t given me a reason to upgrade since 2023, so I 3D printed mods for my PC instead
AMD, Nvidia, and Intel haven’t given me a reason to upgrade since 2023, so I 3D printed mods for my PC instead


Your tray can be for anything; all you need is an idea, some simple measurements, and, of course, a 3D printer!